
Tesla Tortoise Boss Guide — Chapter 2 Blackout Finale
Tesla Tortoise boss fight guide for Resonance of Fate Chapter 2: shock status, bunker cover, scratch body parts, and Metal-Coated MG ammo in Hughes Power Station.
FAQ
How do you beat Tesla Tortoise quickly?
Why am I charging slowly during this fight?
Do I need both bunkers in the room?
Which ammo type helps Tesla Tortoise parts?
Where is Tesla Tortoise in the story?
Is Tesla Tortoise different in Enhanced Remaster?
How do you beat Tesla Tortoise in one sentence?
Strip every hard plate with machine-gun scratch (Metal-Point rounds), jump along the tortoise’s sides with handguns to hit the exposed body, and Tri-Attack once three resonance points appear—while using bunkers so shock status does not freeze your entire party.
What should I bring into Room 6?
| Item / skill | Why |
|---|---|
| Metal-Coated MG ammo in magazine case | TrueAchievements: all hard parts weak to Metal-Coated rounds |
| Cure kits or Anti-All | Removes or mitigates shock/charge slowdown (threetimes) |
| Customized SMG-05 | threetimes’ optional no-turn clear assumes “best gun customisation for this stage” |
| Tri-Attack familiarity | Same resonance loop as Tri-Attack guide |
Brush up on scratch vs direct damage if Chapter 1 skipped machine-gun leveling—half the shell must be blue before handguns matter.
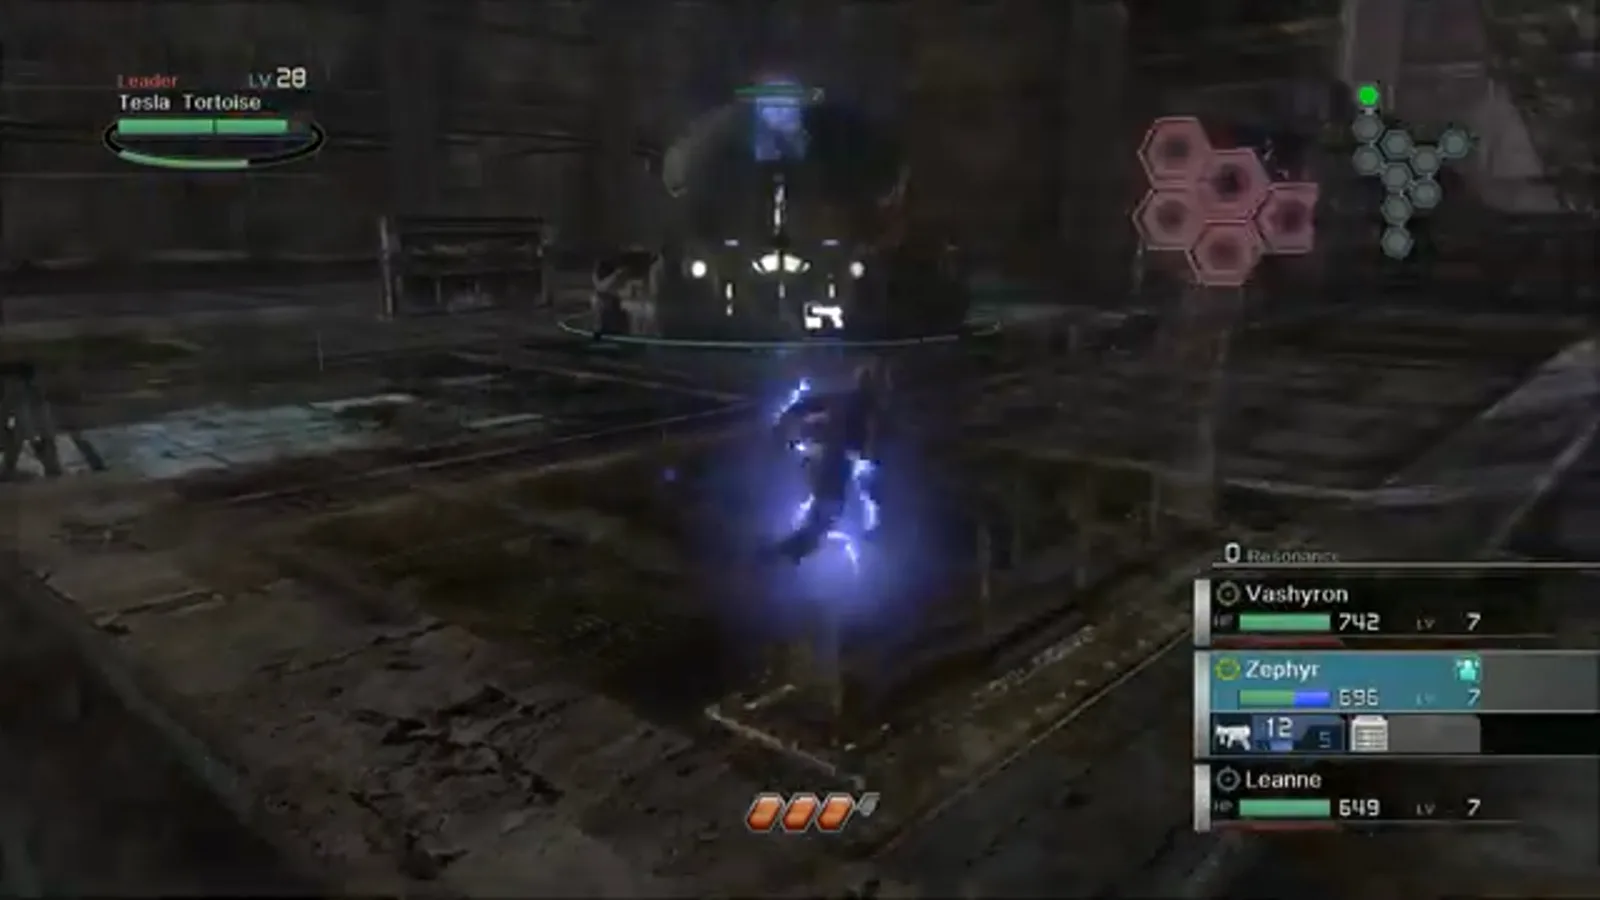
The UI labels Leader: Tesla Tortoise Lv 28 with separate part hexes—scratch each red segment before direct fire on the core.
Phase 1 — Open with scratch behind cover
- Start with your machine gunner (classically Zephyr) and run (not jump) along the tortoise flank while Metal-Coated rounds chip parts (TrueAchievements + threetimes).
- Park the shock bait character in the open if you want Tesla to focus shocks away from the MG (threetimes “fall guy” tactic).
- Keep handgunners near opposite bunkers so one shock does not lock the whole party (Lex Chapter 2 tip mirrored in TrueAchievements).
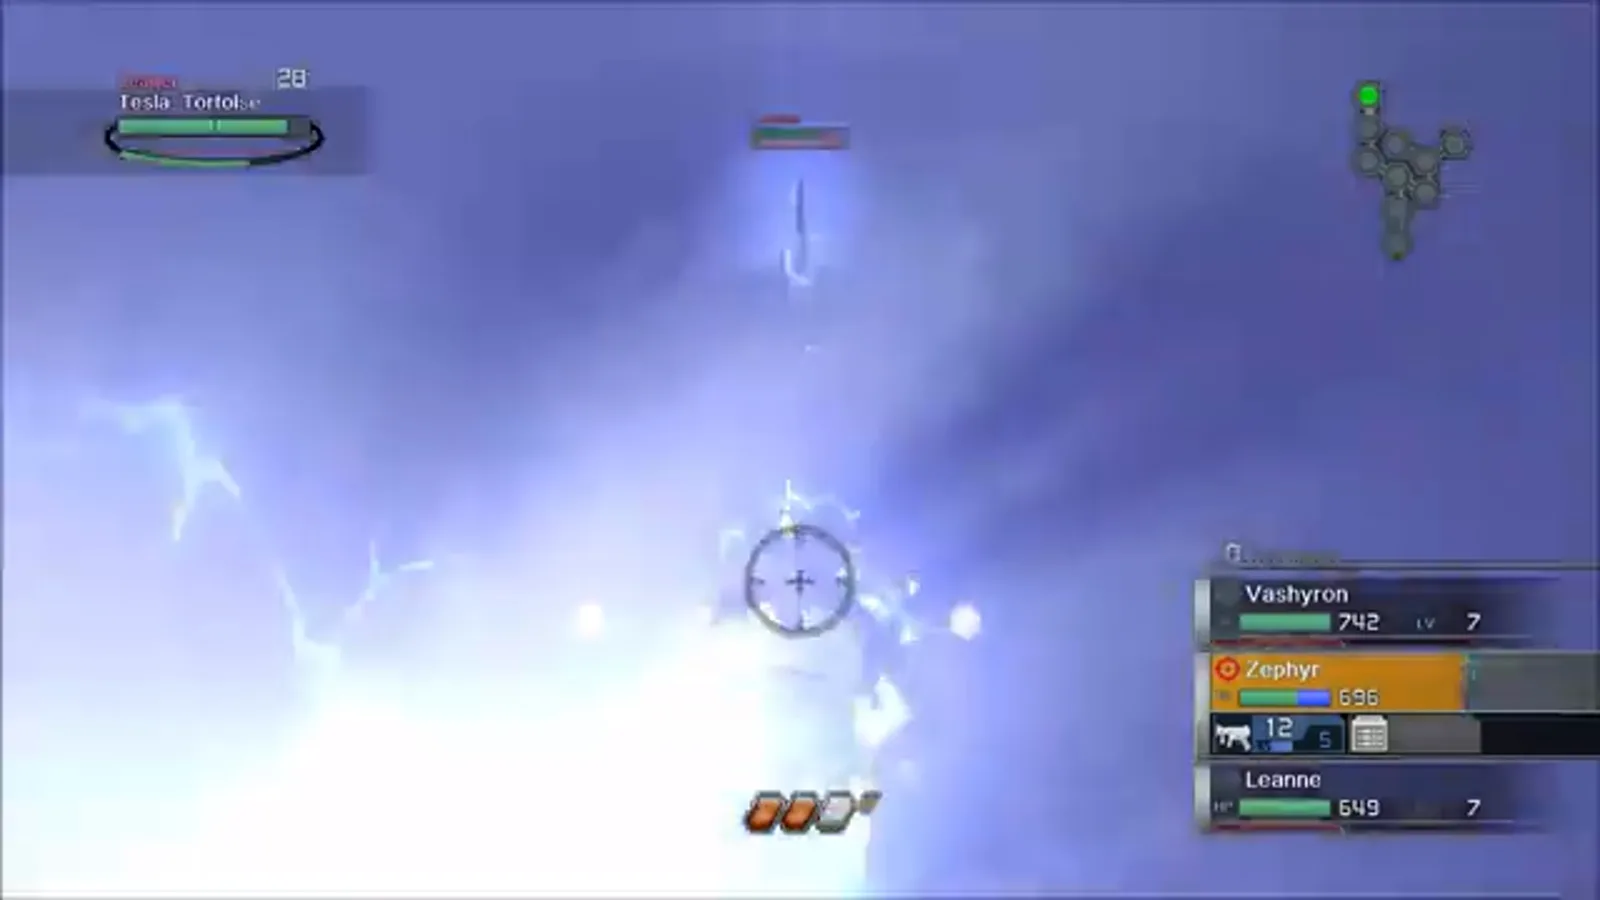
Side paths avoid the shell collision that TrueAchievements warns about for large bosses—same advice as Tar Man.
Phase 2 — Expose and burst the body
When half the carapace clears:
- Run and jump with the MG to fully scratch the body (threetimes).
- Handgun jump attack to convert scratch while the tortoise rotates—airborne shots stop it from turning away from weakened plates (TrueAchievements).
- Fire grenades if gauges stall; threetimes lists them as effective shell breakers.
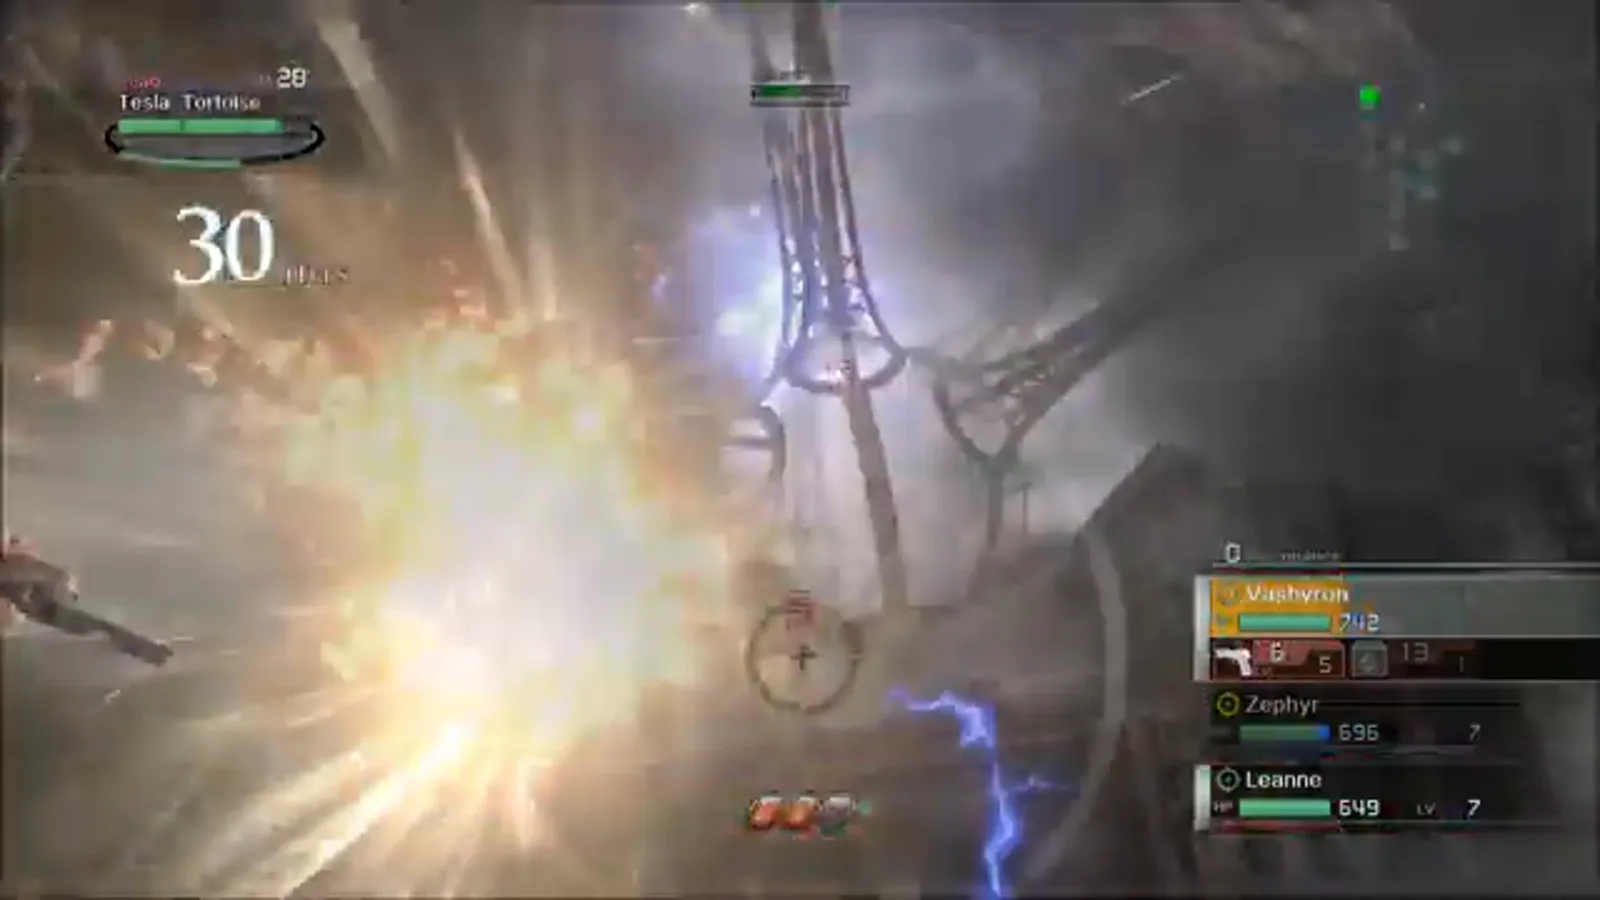
Overhead jumps keep weak spots in view when the boss tries to rotate away from your scratch.
Optional burst — Tri-Attack before the boss turn
threetimes documents a community-clear route: two handguns stun and build 2 resonance points, MG run-jump scratch adds a third, then Tri-Attack with MG lead deletes the fight before Tesla Tortoise acts. Requires ~party level 10 and heavy customize—skip if you are under-geared.
Phase 3 — Aftermath
You receive a Bezel Shard and return to the empty red room—use an Escape Hex or walk out. Mailbox rewards at 100 Hunter Points (HG High Barrel) trigger back in Ebel City if you cleared optional missions.
Tune guns via weapon customization before Chapter 3’s longer dungeons; shock fights only get more common.
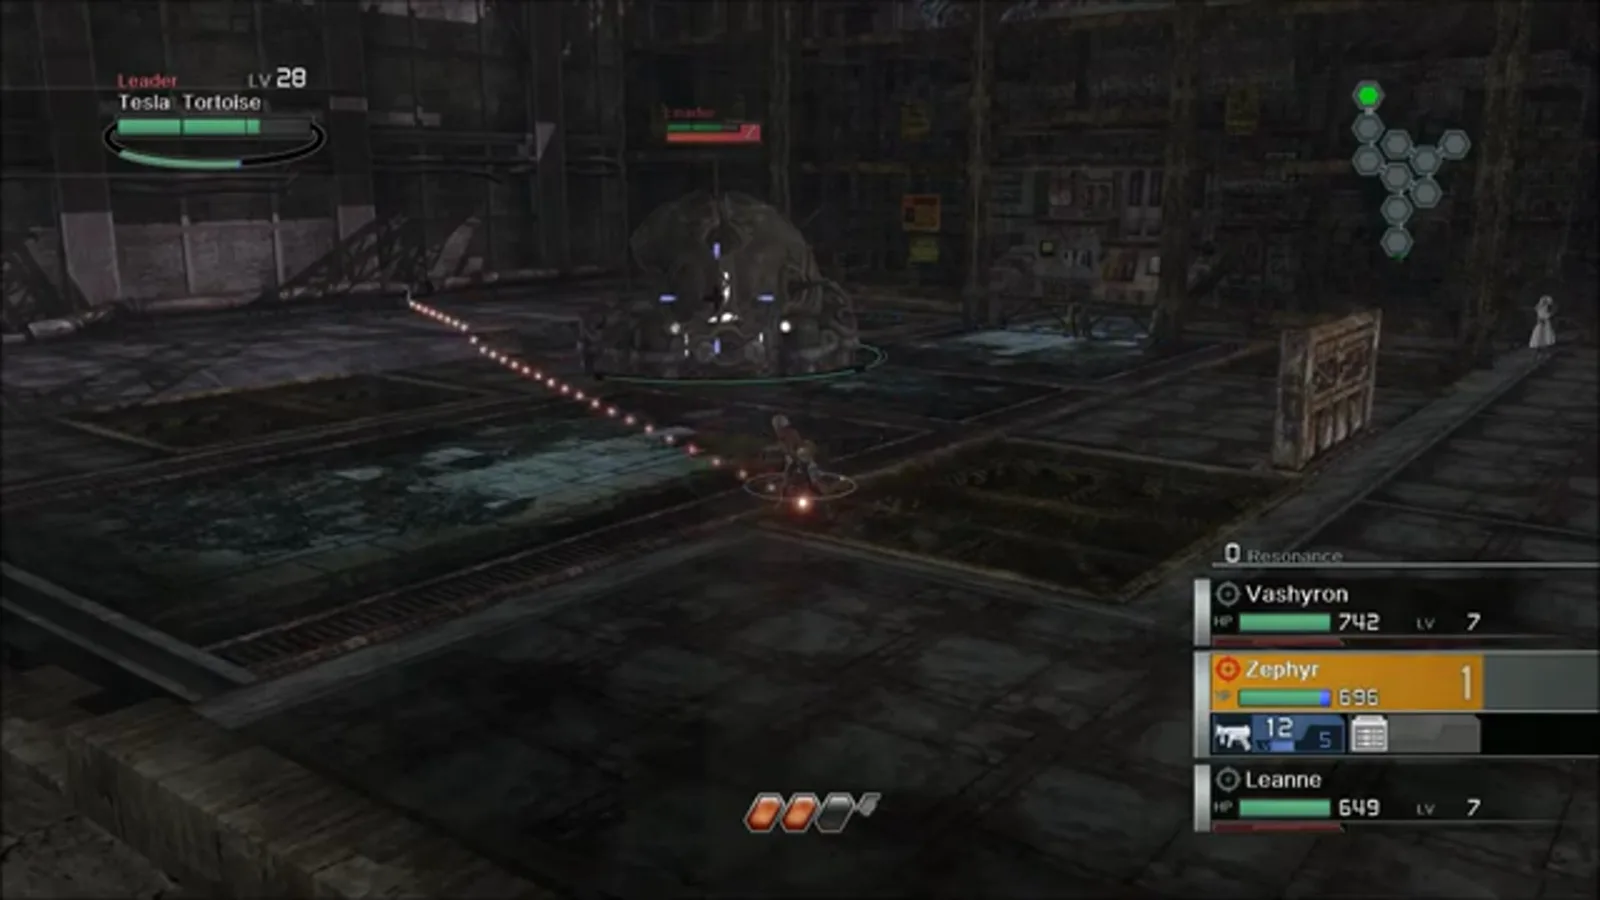
Bunkers block line-of-sight for shock beams long enough to recharge after a slowdown.
Common failure reasons
| Symptom | Likely cause | Adjustment |
|---|---|---|
| Charges never finish | Shock on all three characters | Split bunkers; Cure shock |
| Scratch heals | Attacking only main body | Break every part gauge first |
| Hero runs collide | Charging straight into shell | Arc runs along flanks |
| Bezels empty | Too many jumps before plates break | Walk-first MG pass (threetimes) |
| Timer drag | No special MG ammo | Equip Metal-Coated rounds in the magazine case |

Resonance of Fate 4K HD Tesla Tortoise Chapter 2 boss
Sources
- threetimes — Resonance of Fate Walkthrough (GameFAQs) (Chapter 2 Room 6 Tesla Tortoise stats and strategy)
- Lex — Boss Tips I (LiveJournal) (Chapter 2 Tesla Tortoise bunker split)
- TrueAchievements — Story walkthrough part 4 (Metal-Coated ammo, airborne scratch, Tri-Attack burst summary)
- Footage frames: JasonDoesWhatever — Resonance of Fate 4K/HD - VS Tesla Tortoise || Ch 2 Final Boss (YouTube)
Last verified: 2026-10-31
Related Articles
bosses
Tar Man Boss Guide — Chapter 1 Lucia Boss Fight
Tar Man boss strategy for Resonance of Fate Chapter 1: oil pit priority, Drum Carriers, cover boxes, and handgun finishers in the Lucia dungeon (Downtown area 5).
guides
2× Game Speed in Enhanced Remaster — What It Does
Resonance of Fate Enhanced Remaster 2× game speed explained: field, battles, and events run faster. Benefits, limits, and what we could verify on menu footage.
guides
Battle System Explained — Resonance of Fate Combat
Battle system explained for Resonance of Fate Enhanced Remaster: turns, Hero Actions, Tri-Attacks, scratch vs direct damage, and the Hero Gauge.
Was this helpful?
Thanks for the feedback!